Overlanding Fuel Systems
Overlanding Fuel Systems
Fuel Volume
If we think about overlanding in the most dramatic of ways, it could involve travel to extremely remote locations. Fuel stations are not common in remote locations, so having sufficient quantities of fuel to get to, explore, and return from your place of interest is critical. So, how to provision for adequate fuel?
On Board Storage
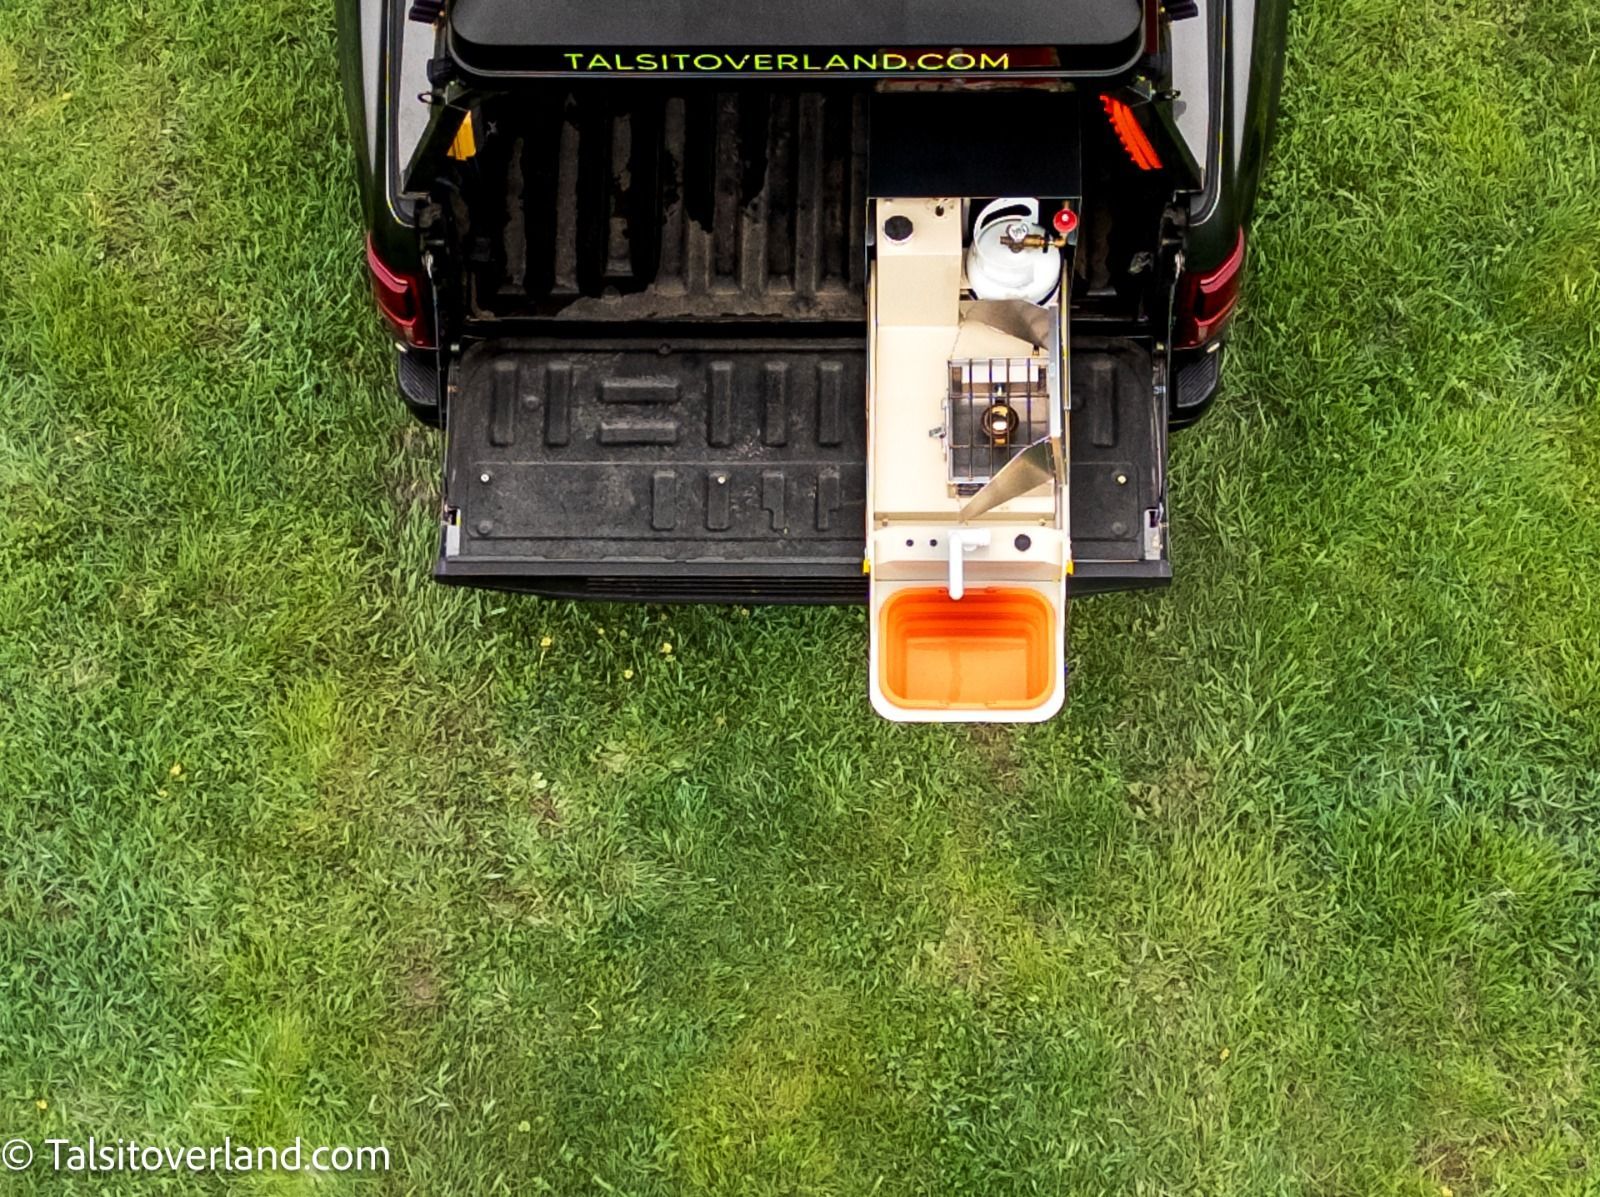
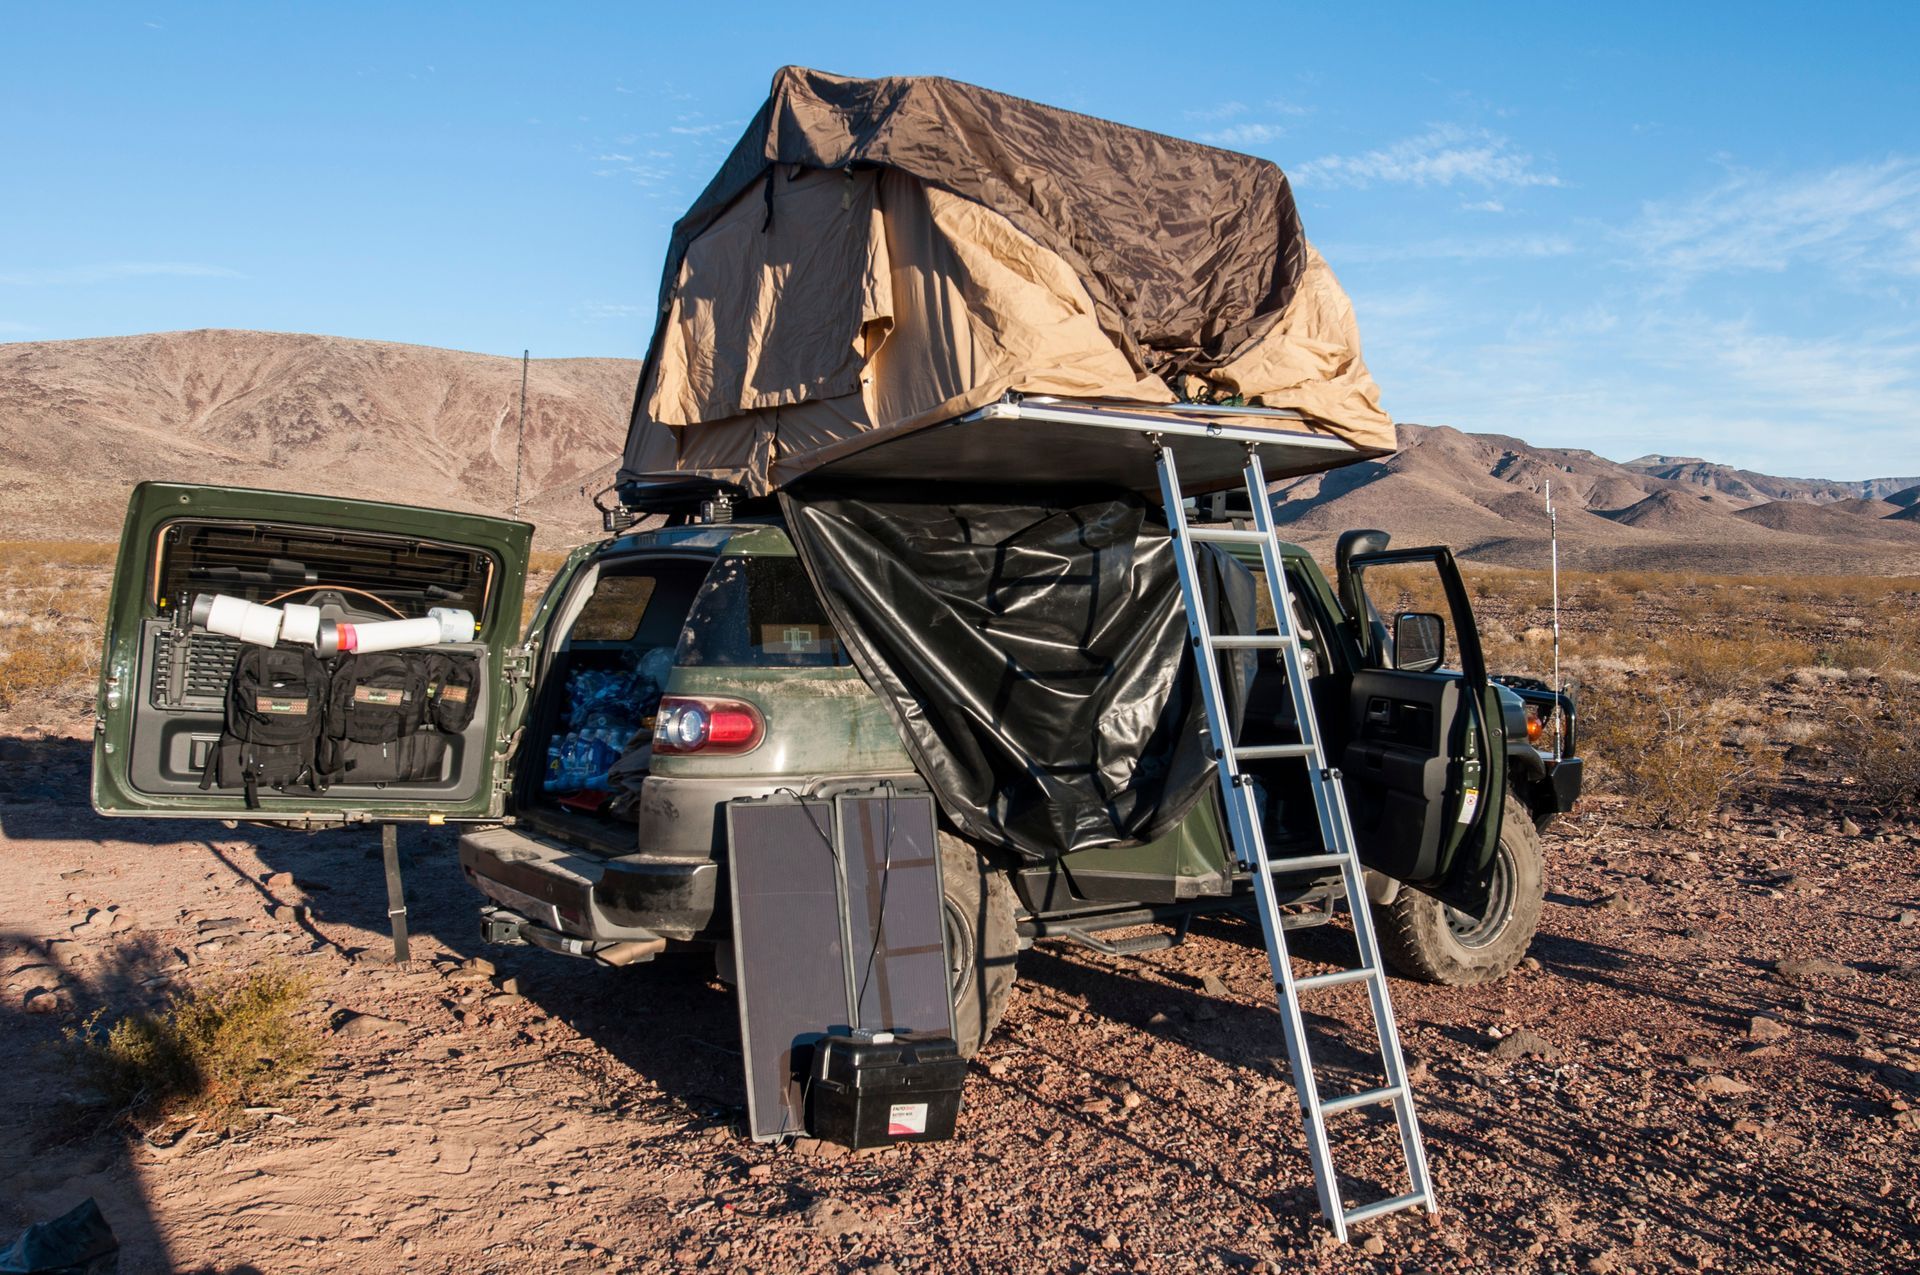
One solution to making sure you have enough fuel is to bring additional along with you in jerry cans or other fuel containers. There arise several complexities to this approach, including the safe storage of fuel—ideally, fuel should be stored outside of the vehicle. Pickup truck beds notwithstanding, many overlanding rigs are limited in where bulk stores of fuel can be placed. Storing multiple jerry cans on the roof rack is not ideal, given the dynamics of weight that high up and the impact to the vehicle center of gravity. On remote trips, particularly with gasoline engines, numerous jerry cans would be required.
Adding Fuel Tanks
Where space permits, increasing the size of the vehicle’s primary fuel tank is an attractive solution. Given the stock location of the tank, the vehicle dynamics would change little. Some vehicles, particularly trucks, offer as a factory option a larger tank. However, in many if not most cases, it is not possible to increase the size of the stock fuel tank.
Another option is to add additional fuel tanks to the vehicle. This of course assumes there is real estate available to do so. The location of the tank would be as low as possible and therefore impact vehicle dynamics far less than when storing fuel on board. However, certain complexities arise with respect to the integration of multiple tanks such as the following.
- How does the additional tank connect to the vehicle fuel system?
- Does the tank transfer fuel to the main tank?
- Does the tank supply fuel to the engine?
- Is the fuel pump in-tank or external?
- Does the auxiliary tank contain a fuel level sensor?
Fuel Risk Management
A key element to successful remote overlanding is effective risk management. Adequate fuel provisioning is certainly one element of risk to manage. In addition, it is worthwhile to generate scenarios (failure modes) as to what could fail and leave the adventurer stranded. While modern fuel systems are certainly robust when new, a failed fuel pump could serve as a significant problem when remote. One solution is to assess the likelihood of fuel pump failure and replace it with a new one. In addition, brining along a spare pump could be money well spent. Understanding the process for changing the fuel pump is an additional risk management measure that one would be wise to consider. The process for changing a fuel pump is rather straightforward with some vehicles and difficult with others. In some cases, a nearly full fuel tank would need to be dropped in order to access the fuel pump.
In addition to the pump, the risk presented by the fuel filter should be considered. A partially clogged or completely clogged filter could represent an unacceptable risk. Again, risk mitigants include changing an older filter prior to the trip, carrying a new filter on board, and an understanding of the procedure for changing the filter.
Fuel lines and connectors are also a risk management consideration. Keeping some extra fuel line and any connectors that are known to fail on board are worthwhile risk mitigants.
Shop Truck Fuel System
Given that the shop truck was a ground-up build, we had a clean slate with which to start. We began with identifying the following initial design requirements.
- Fuel range of at least 500 miles loaded.
- Efficient change of the primary pump in field.
- Redundancy for in-tank fuel pump failure (multiple tanks).
- Integrated fuel level sensor across all fuel storage tanks.
The fuel range is a function of the weight of the vehicle, fuel efficiency, travel conditions (i.e., 70 mph freeway or 55 mph back road). We settled on a 60 gallon on board capacity with the ability to carry up to an additional 24 gallons in fuel cans.
Fuel System Design
The LT4 engine in the truck uses its own fuel pump controller that works using pulse width modulation to supply the appropriate pressure and volume to the engine. Thus, controlling the primary pump was not a problem and amounted to connecting the wires from the LT4 fuel pump controller. The engine has an internal mechanical fuel pump that supplies the high pressures required for a direct injection fuel system.
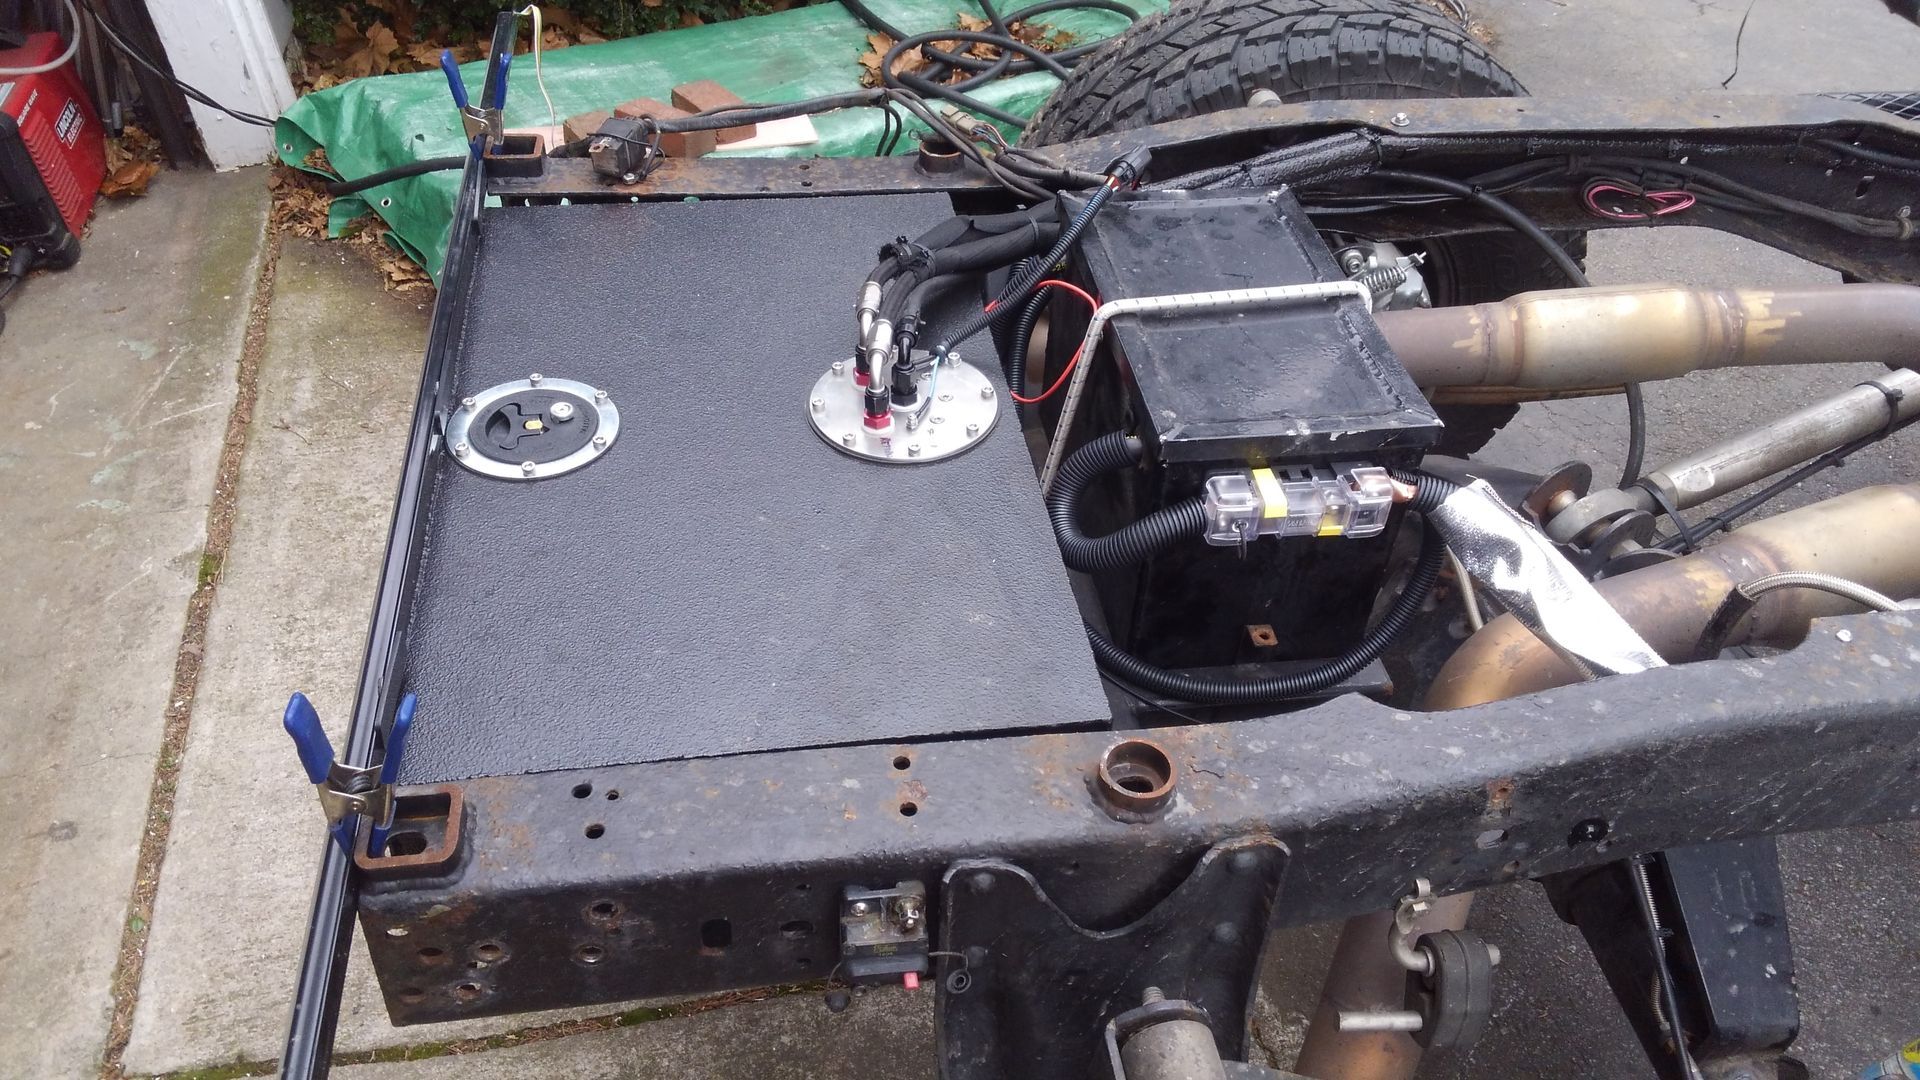
Each of the three fuel tanks contain an electric fuel pump in the tank. Each of the pumps supplies fuel to a fourth tank, which is a “fuel surge tank” that contains roughly a liter of fuel. Fuel surge tanks are commonly used in race cars that do not have a proper fuel cell to manage the effects of acceleration and cornering. In our case, the surge tank allows us to situate the primary pump up in the engine compartment where it can easily be serviced/replaced. The surge tank provides the additional benefit of guaranteeing fuel availability on severe inclines. The primary pump supplying fuel to the engine is a ‘dead end’ arrangement, where all fuel going to the engine is burned and none is returned to the surge tank. The exhibit below illustrates the fuel system in the shop truck.
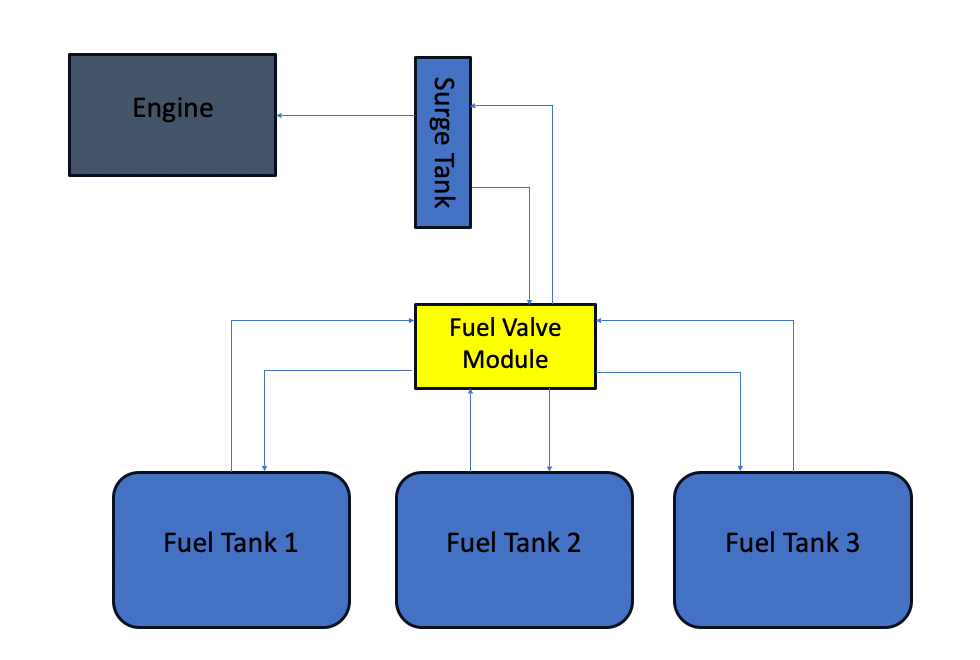
As mentioned above, there is no fuel return from the surge tank primary pump. Each fuel tank supplies fuel to the surge tank and unused fuel is returned to the supply tank. The fuel pressure to the surge tank is limited by the resistance of flow through the system, which is quite low (e.g., 10 psi). Thus, the fuel pumps are doing less work than would be the case in an ordinary fuel system with pressures from 40 to 80 psi.
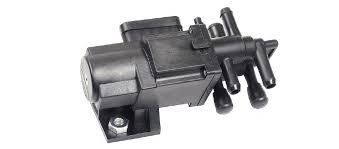
In this system, if Fuel Tank 1 is chosen the fuel would be supplied from tank 1 and returned to tank 1 through the Fuel Valve Module. The Fuel Valve Module switches supply, return, and fuel level between tanks using two Pollak 6-port valves (below).
The lower side of the picture shows the supply and return inputs for each of two tanks. The larger diameter input is the supply and the smaller is the return. The valve not only switches between supply and return, it also switches between tank level sensors. So, when you have it set to tank 1, it provides the level of tank 1. Similarly, when tank 2 is chosen, it provides the level of tank 2.
In our case, we have three tanks and therefore required two 6-port valves. The picture below shows the contents of the Fuel Valve Module built to switch between tanks.
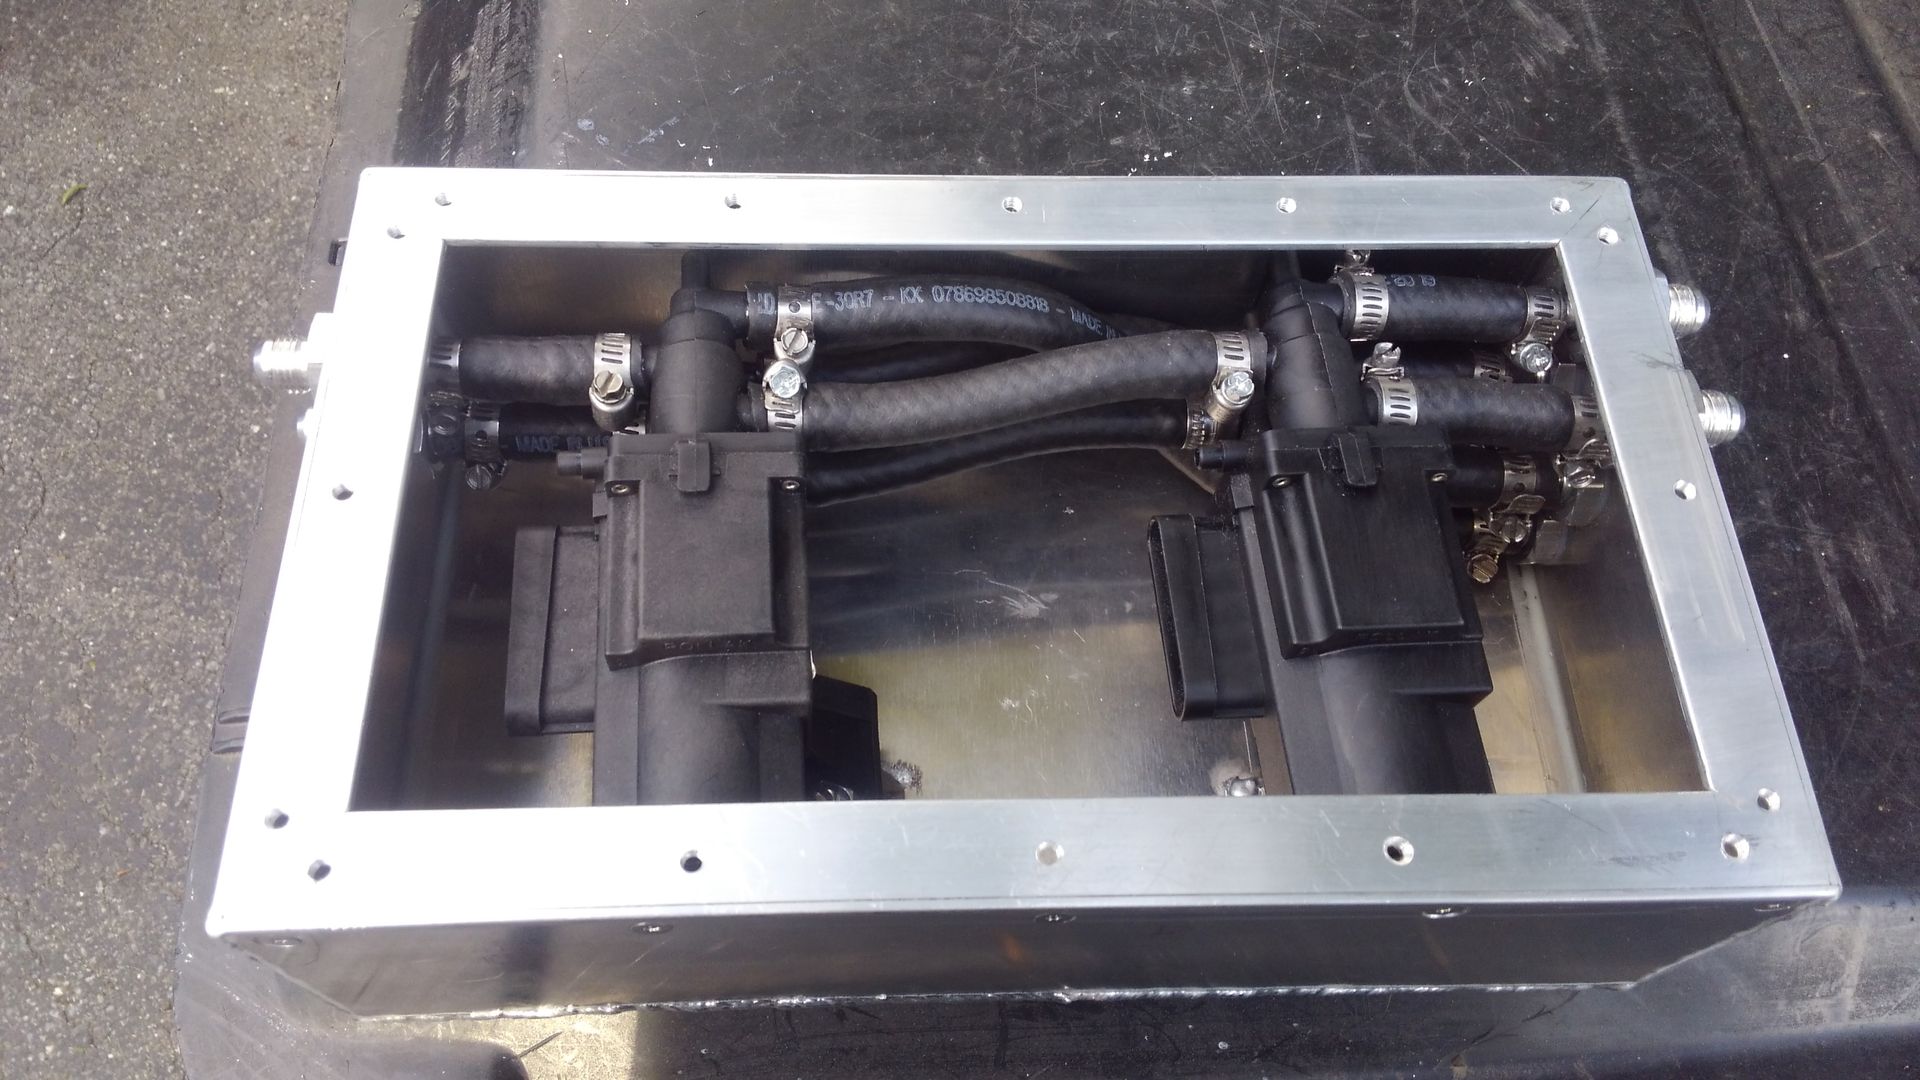
The inputs are located on the right side of the box and the supply/return to the surge tank are located on the left side.
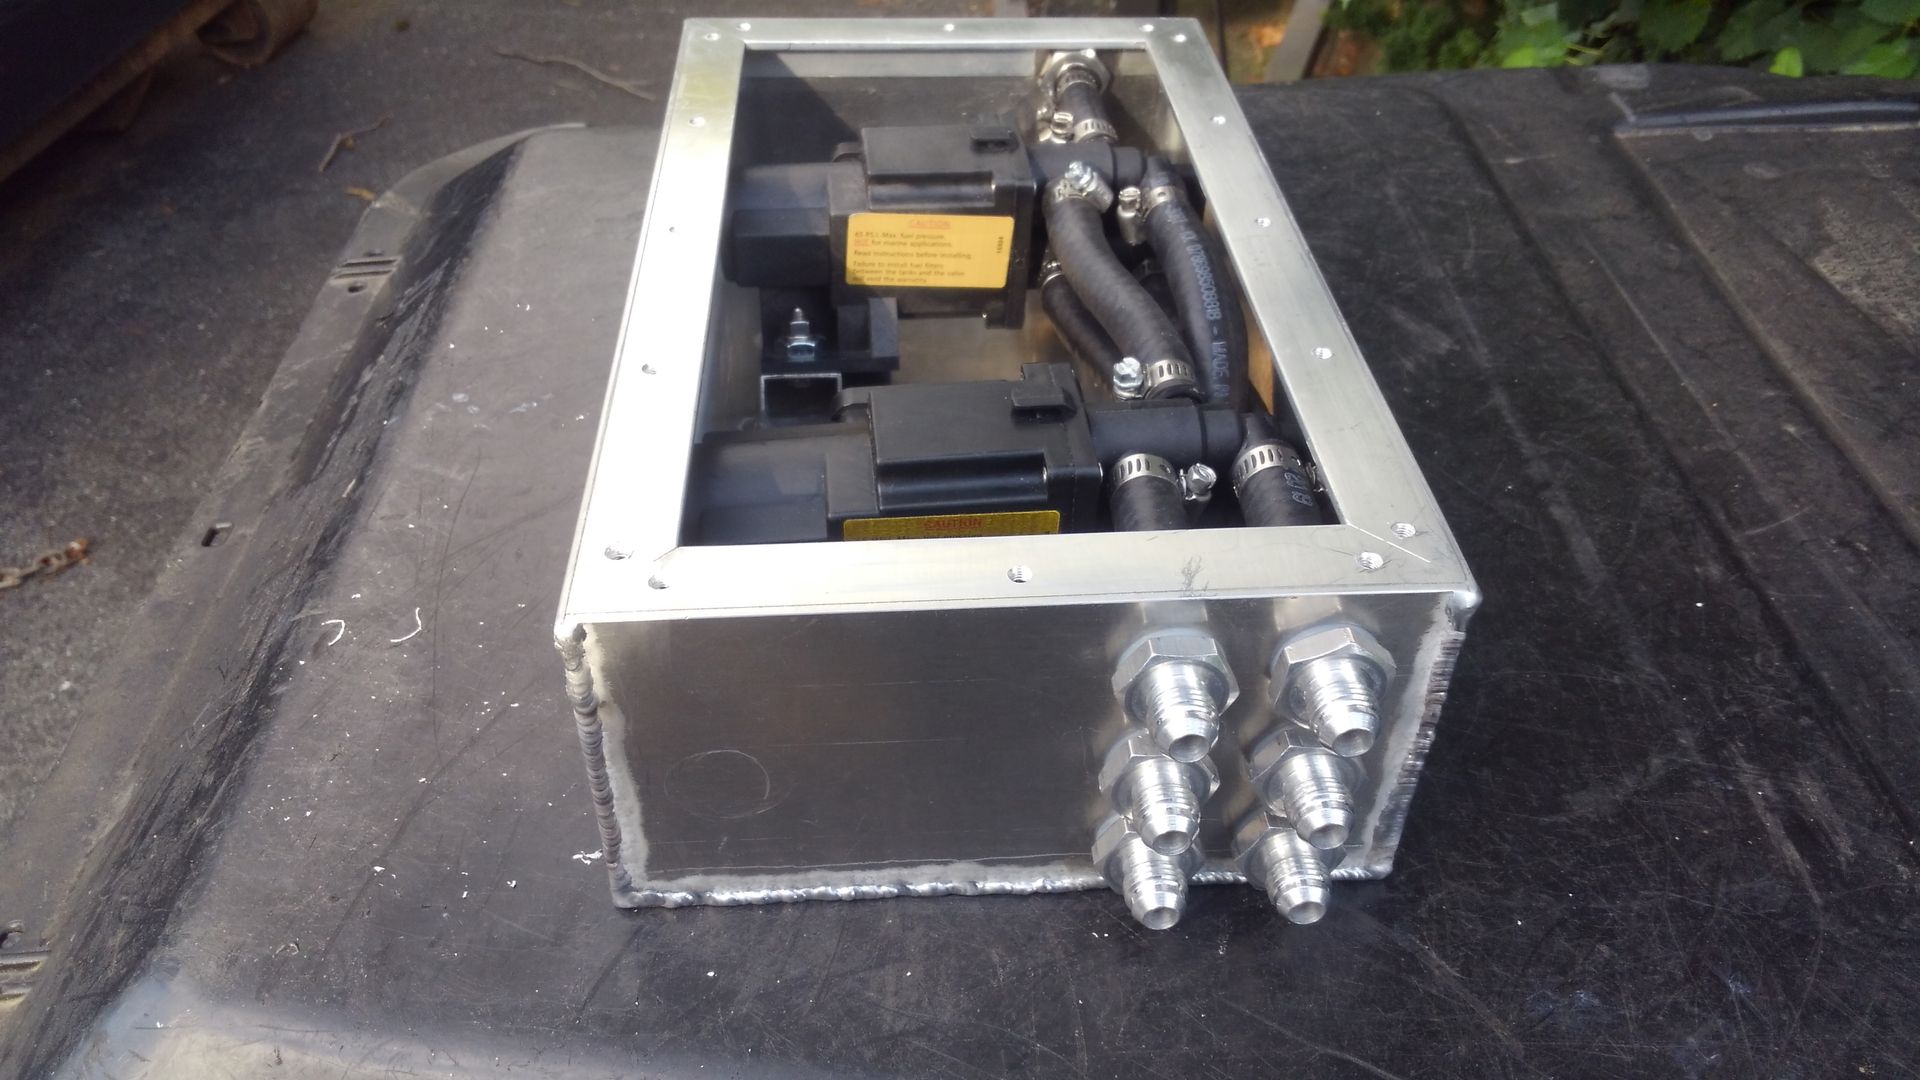
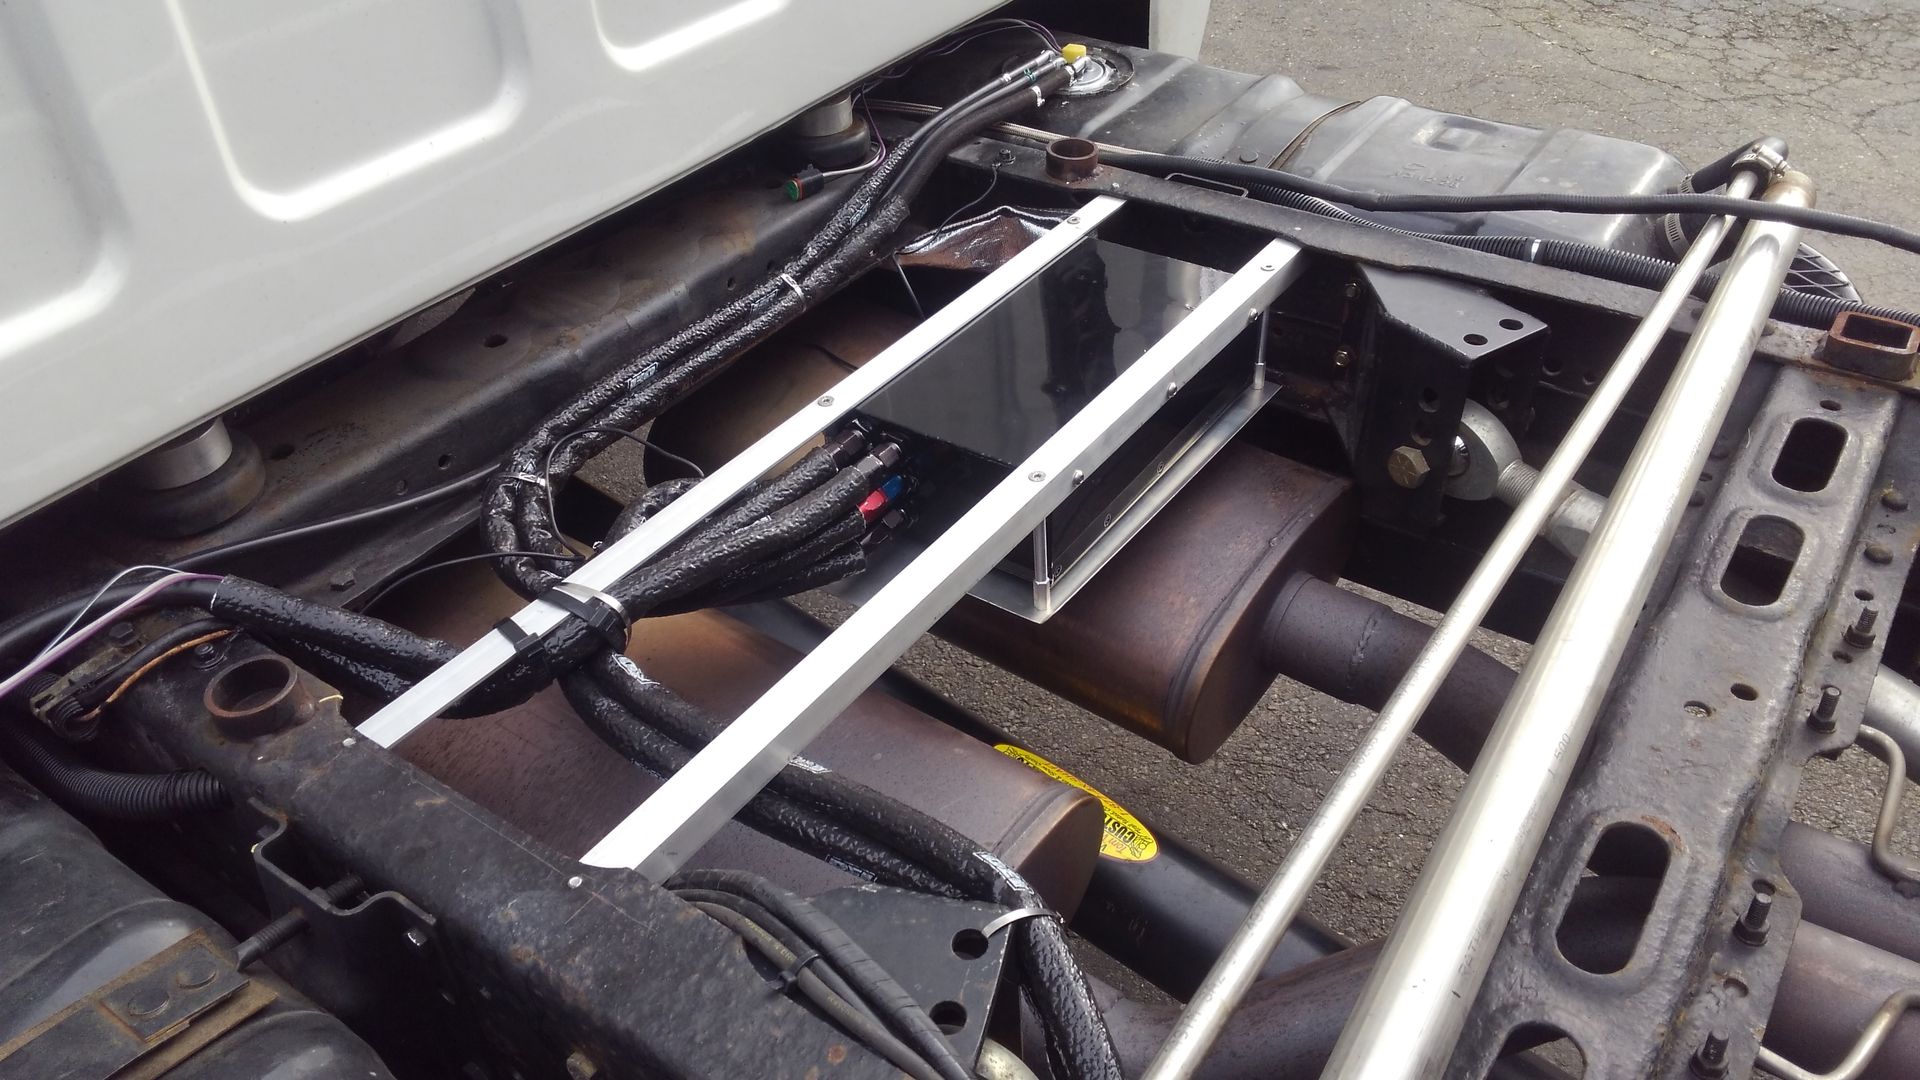
Common fuel line was used with worm clamps to make any in field service easy. The module was located under the bed and above the exhaust muffler. Heat shielding was used on the fuel lines and a heat shield insulates the module from exhaust heat.
One can see the cross over tube used to fill the right saddle tank from the left side of the truck. The rear tank (shown below) is fabricated out of aluminum and contains a custom pump hanger and a tube style fuel level sensor.
The shop truck fuel system worked flawlessly until we were off roading in the desert. The in-tank pump was running at a full 12 volts and generating heat that eventually caused the fuel to boil. The solution was to include a fuel controller that reads the pulse width modulation from the LT4 controller and dials back the in-tank pump based on demand.
While having 3 fuel tanks provides redundancy, it does not address the issue of an in-tank pump failure. One upgrade would be to include the capability of transferring fuel between tanks so that in the event of a failure of an in-tank pump the contents of the tank could be moved. The risk of failure of an in-tank pump is decreased by virtue of the fact that the pumps are not required to make full line pressure.