Weight vs. Strength for Overlanding Equipment
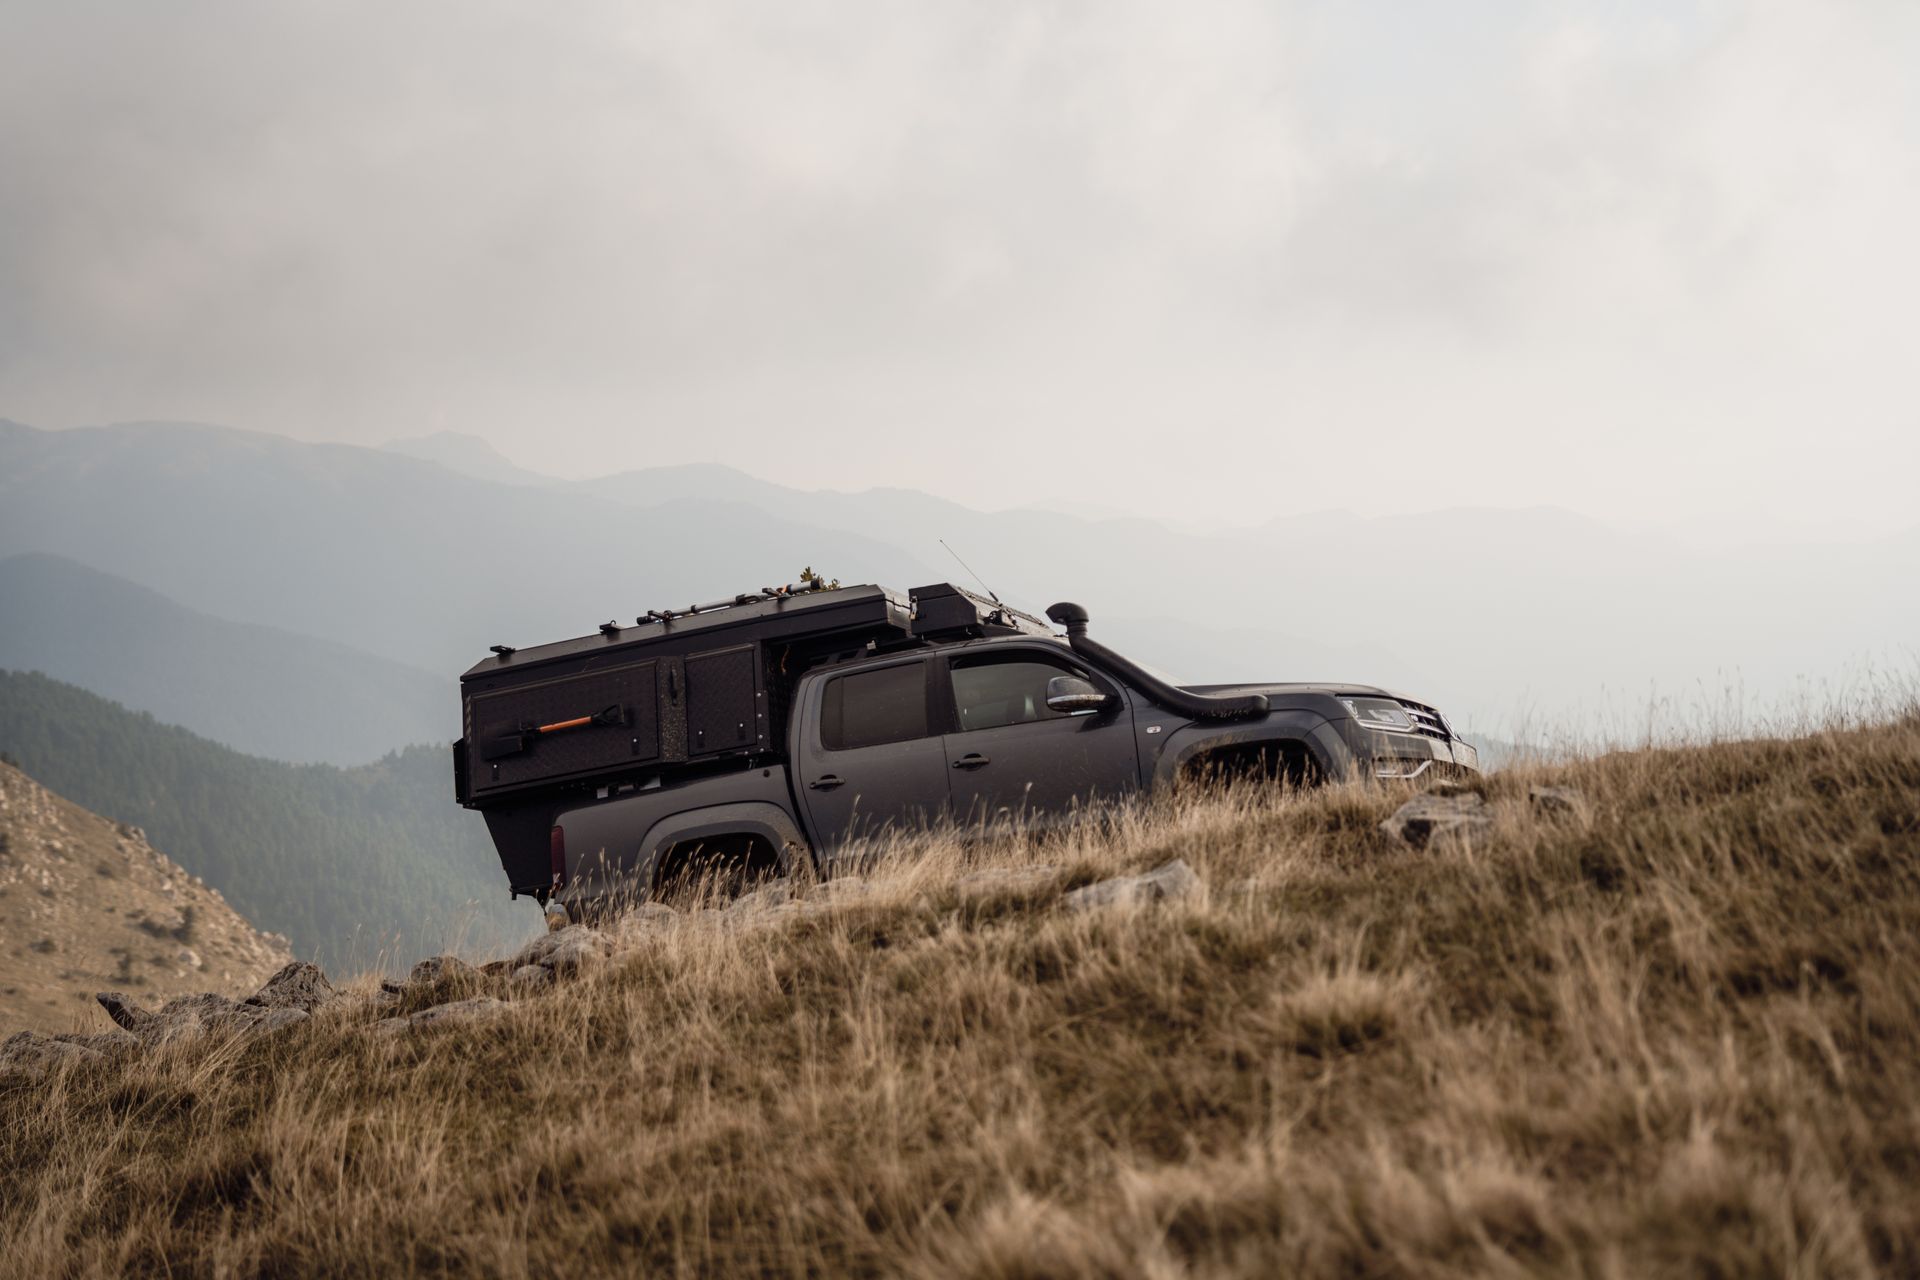
Building an expedition-ready rig is about strategy and careful consideration. It's easy to get excited about full-roof racks, oversized spare tires, and every new piece of gear on the market when starting this project. However, every addition changes how your vehicle drives and performs. The real goal is not to bolt on every single one of the toughest parts available that you find. Rather, it's to strike the right balance between strength and weight so your vehicle stays capable and safe. Understanding that balance is key to choosing the right overlanding equipment for your adventures.
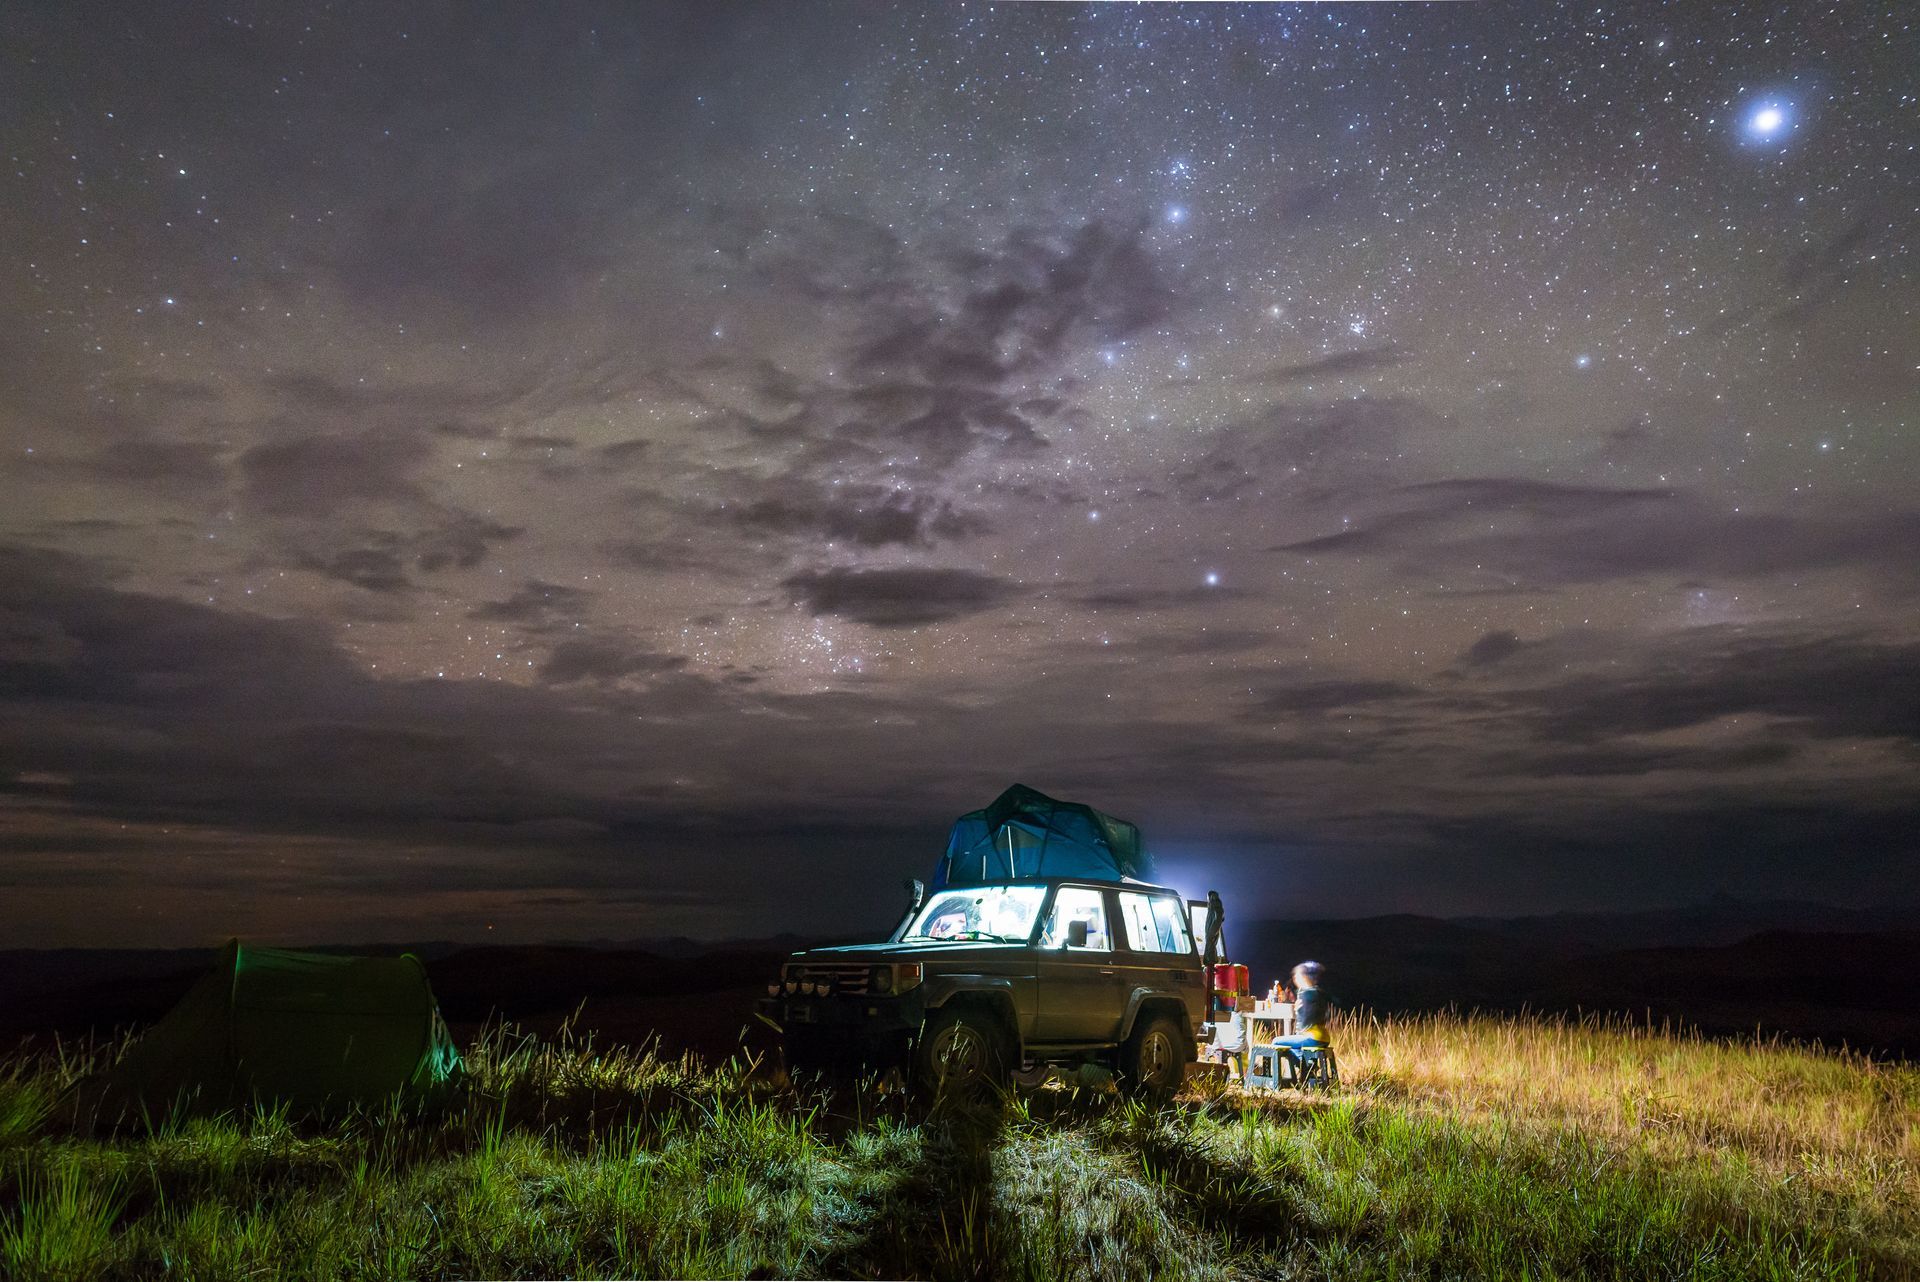
Why Striking a Balance Matters
Creating a trail-ready vehicle is about literal balance. Every pound matters when it comes to fuel economy, suspension wear, braking distance, and steering response. However, not loading your vehicle enough can cause failure on your adventure. A balanced build focuses on equipment that can handle the ruggedness of trails without weighing your vehicle down. Durable overlanding accessories for rugged terrain should instill confidence, and striking a balance is the key to achieving it.
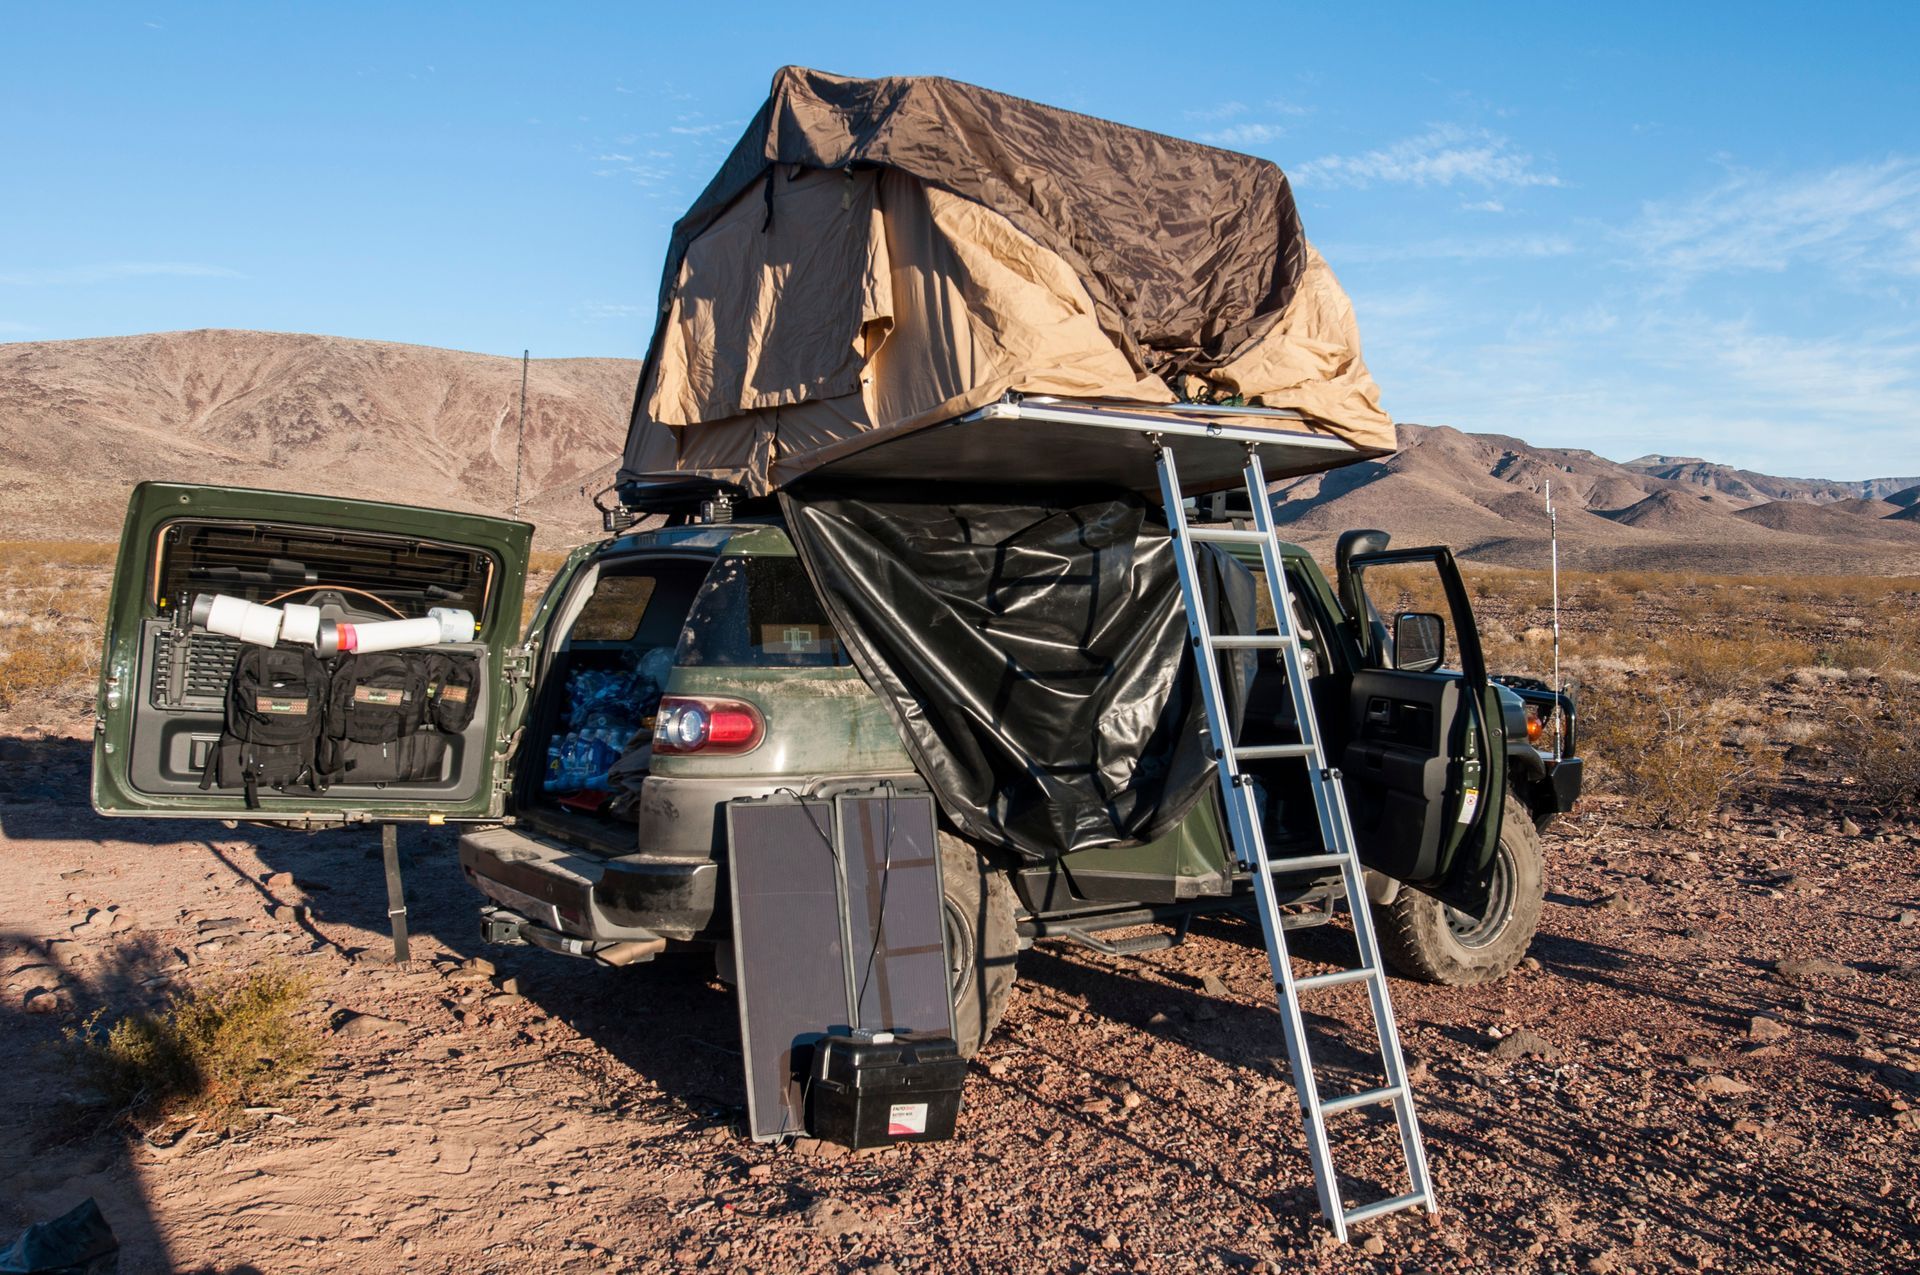
Understanding Load and Vehicle Limits
Before installing equipment such as armor, storage systems, or rooftop gear, we strongly encourage our customers to review their vehicle's weight ratings. If you exceed these limits, safety issues and long-term mechanical problems will arise. As a rule of thumb, heavy items mounted high will raise your vehicle's center of gravity and increase potential body roll when on uneven ground. Spreading weight low and evenly helps overall stability.
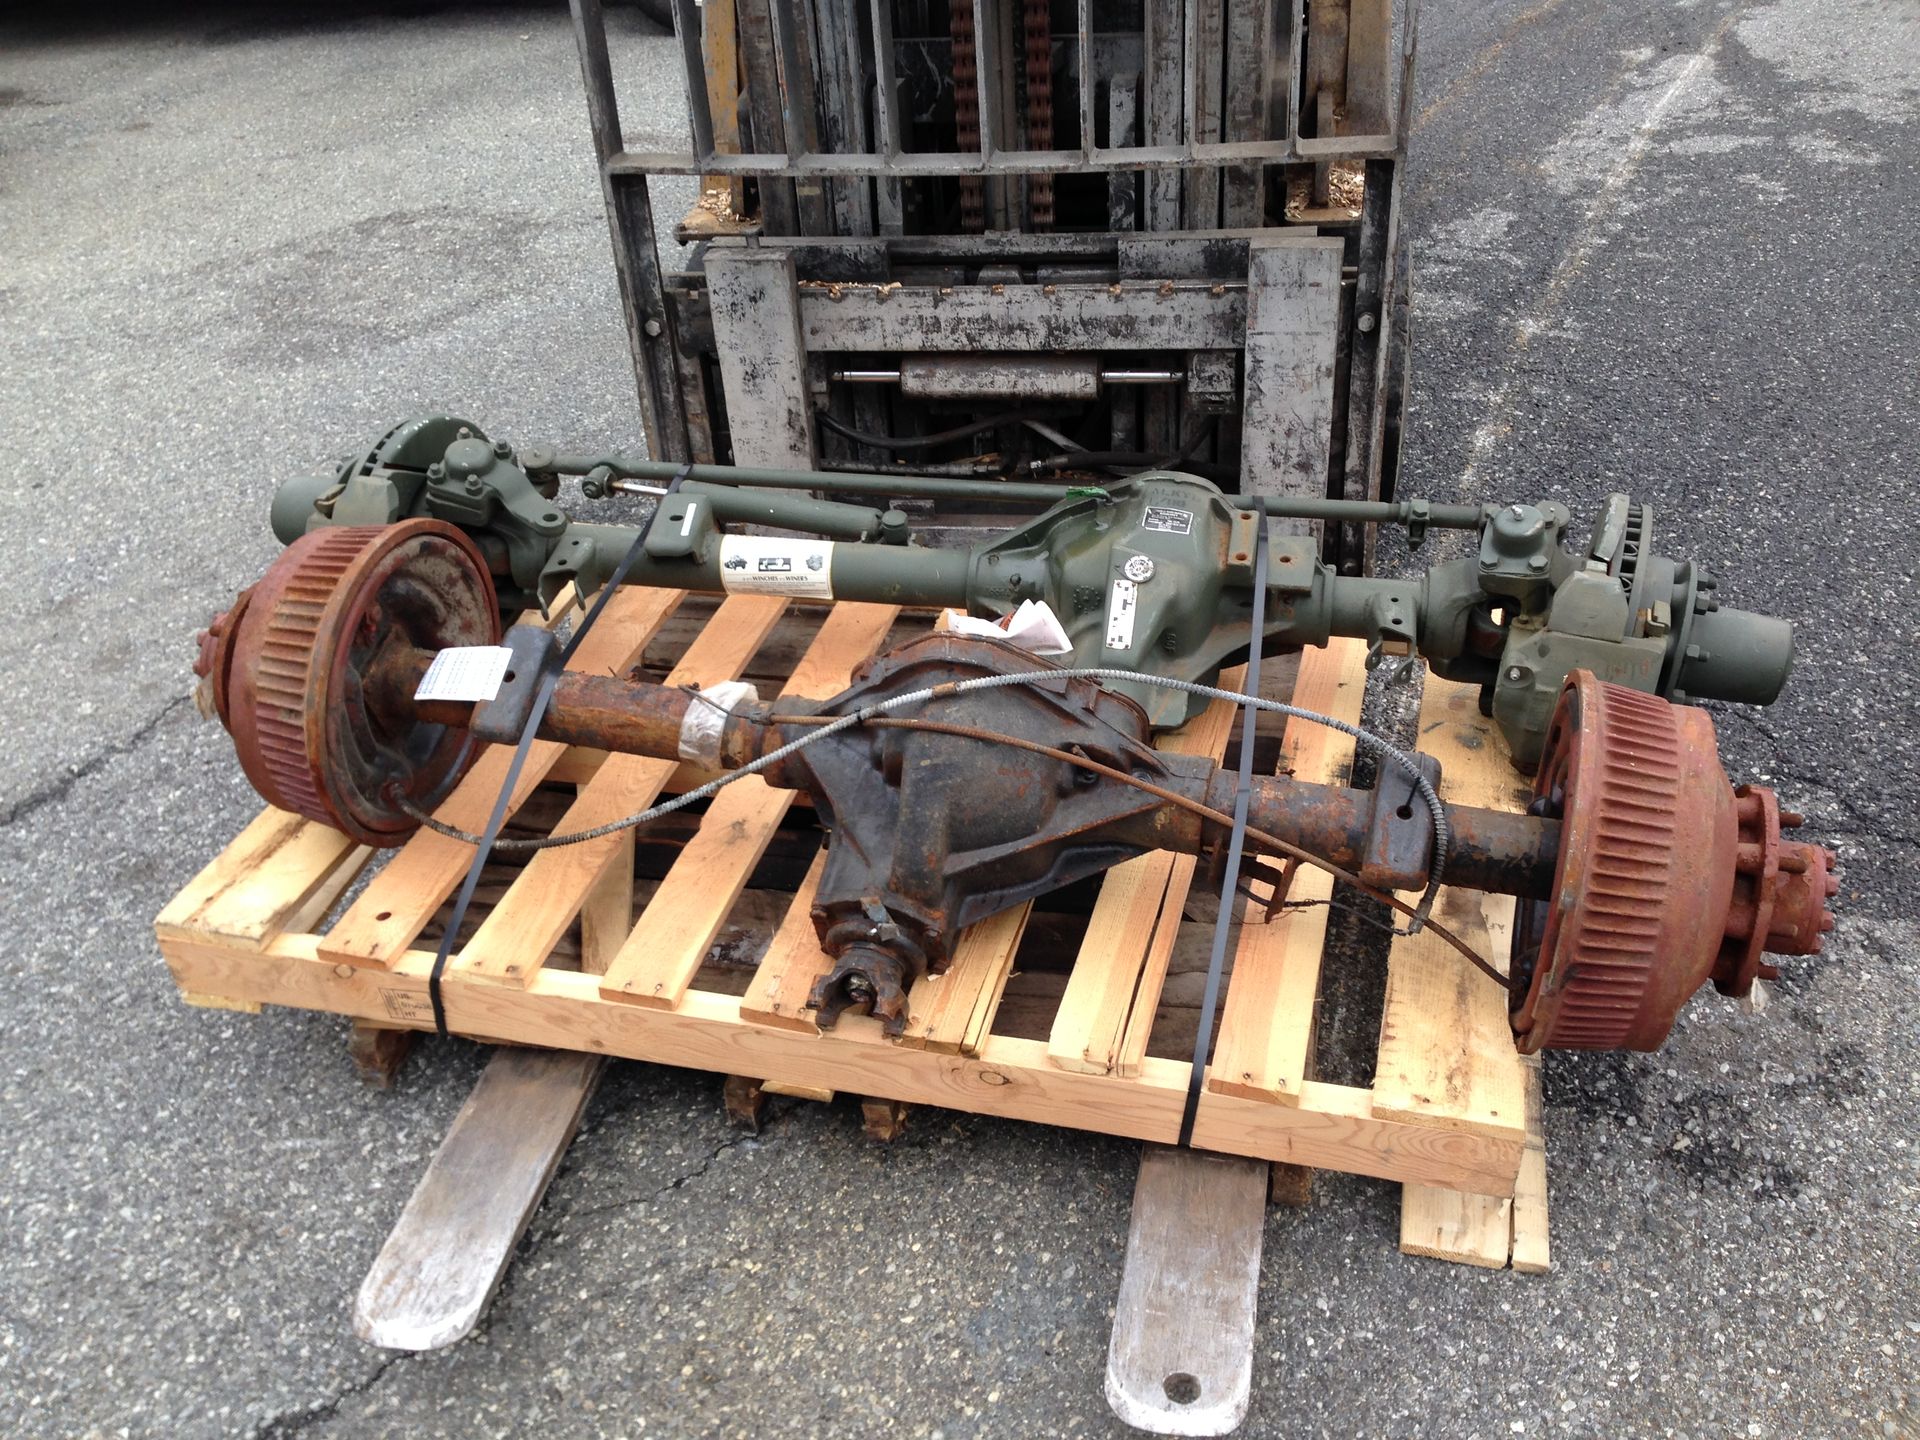
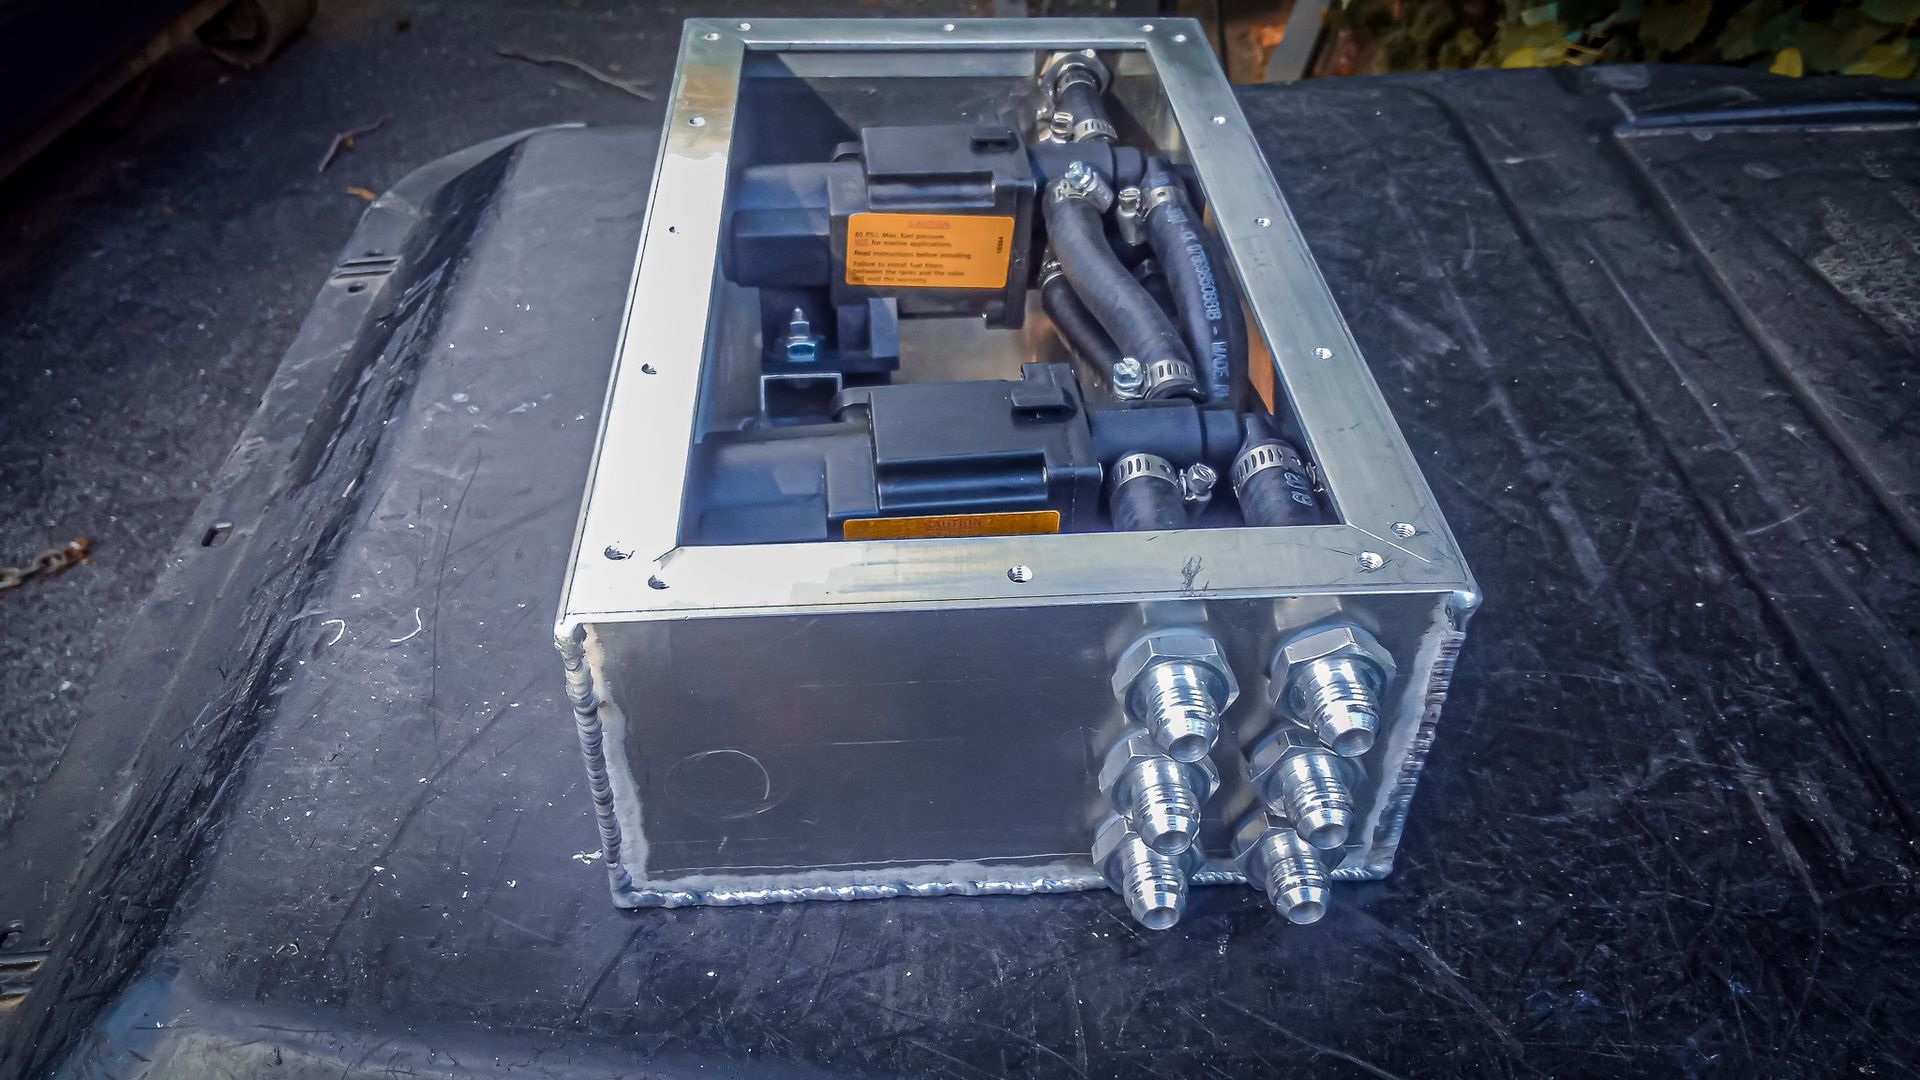
Steel vs. Aluminum and Rivets vs. Bolts in Overlanding Builds
Steel is stronger than aluminum, but for overlanding, you're balancing weight and strength to ensure a successful adventure. That's why we use a combination of materials to ensure durability happens where it matters most, while keeping your build light enough for rugged terrain.
Rivets vs. bolts matter more than many people realize. Bolts allow easier removal and field repairs, while rivets can distribute load evenly across panels but are less convenient to replace. Investigating if vibration will pose a concern on your adventure and if adjustability is important will help you decide which is best.
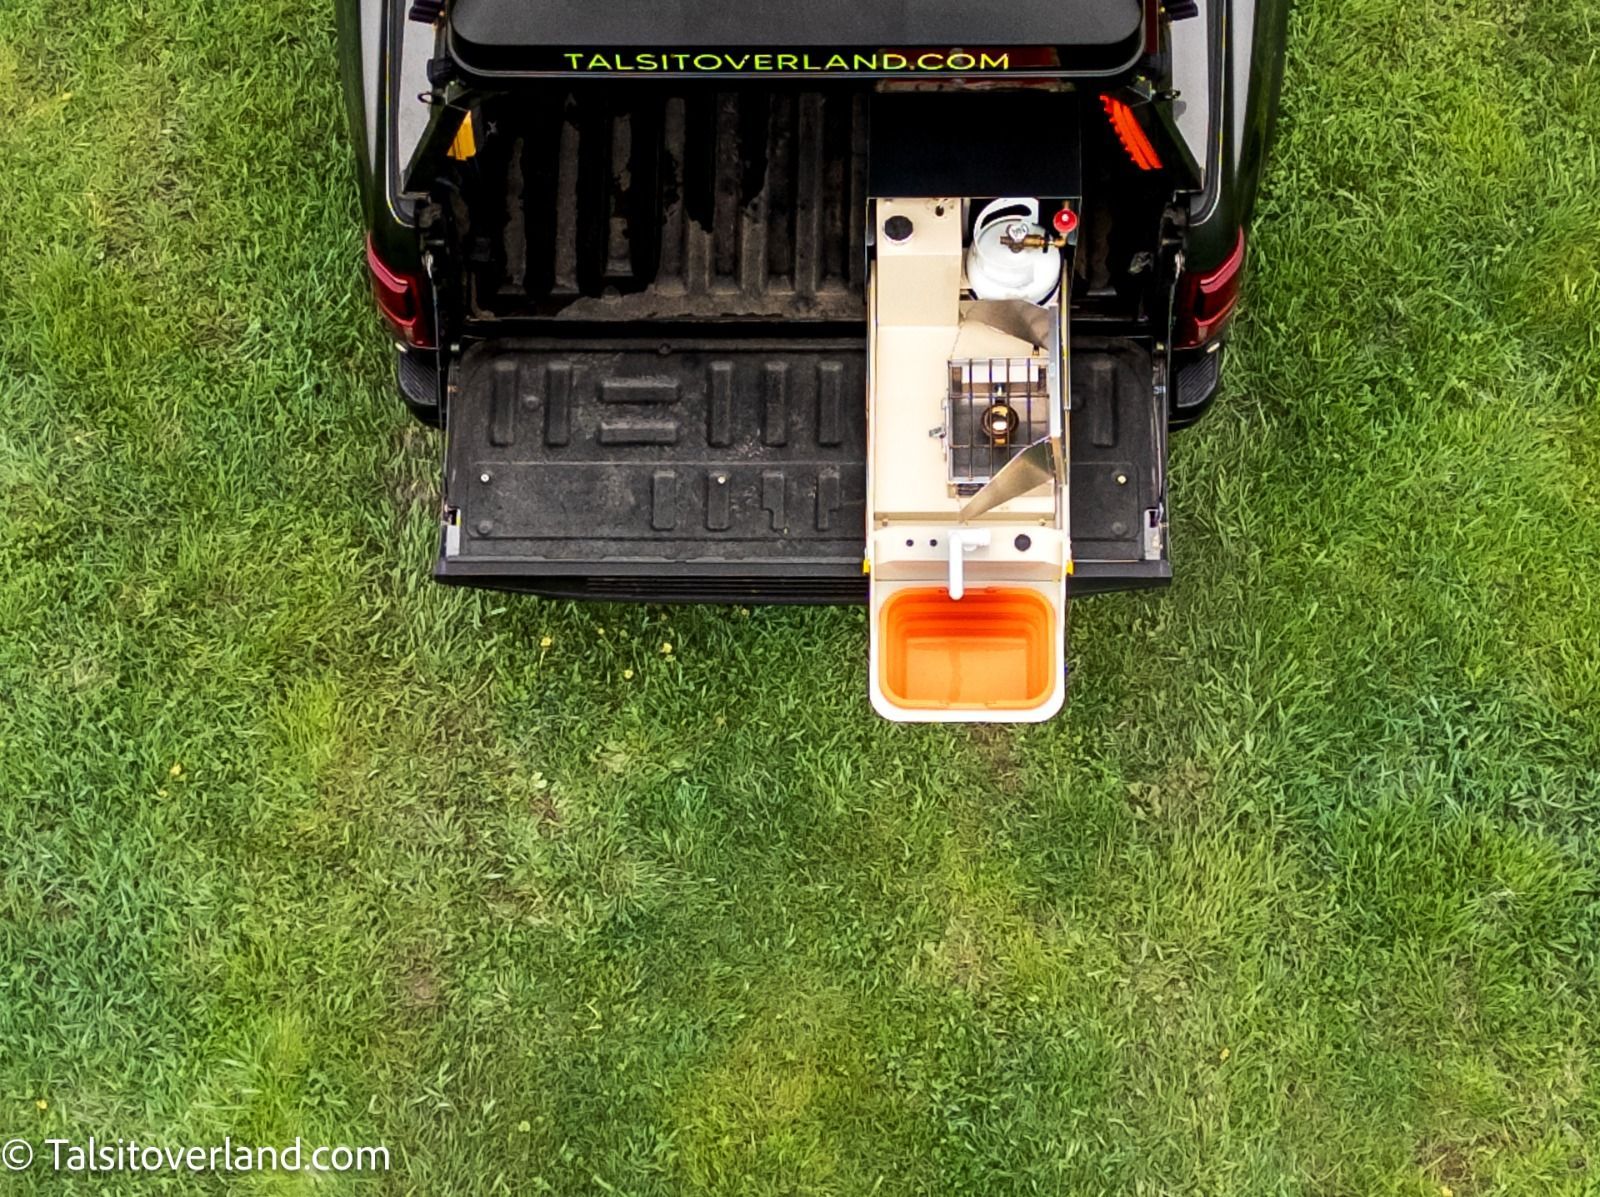
Overlanding Equipment
Bigger and heavier do not always mean better on the trail. Modern overlanding equipment should be engineered for strength without excessive bulk. The smartest builds, in general, focus on purpose-driven upgrades rather than adding gear just to fill space. If you would like to know more about weight and strength for overlanding equipment, our team is happy to connect with you. We're also happy to share our overlanding essentials guide to help you on your travels.
Ready to learn more? Contact us. At Talsit Enterprises, we are passionate about offering equipment and solutions that we have used or would use on trails ourselves. Our experience in rugged terrain helps us know what is worth it and what is not for your great adventure. No matter where you're headed or for how long, you can rely on our team to get you through your adventure confidently and safely. We cannot wait to welcome you to our adventuring family.
Talsit Enterprises proudly serves overlanding enthusiasts across the country.